Qwen3-VL-Embedding系列模型是通义千问家族的新成员,基于强大的 Qwen3-VL 基础模型构建,专为多模态信息检索与跨模态理解设计。它能接受包括文本、图像、截图和视频在内的多种输入形式,以及这些模态任意组合的混合输入。本文将带你实战部署 Qwen3-VL-Embedding-8B 模型,并构建一个“以文搜图”的语义检索系统。
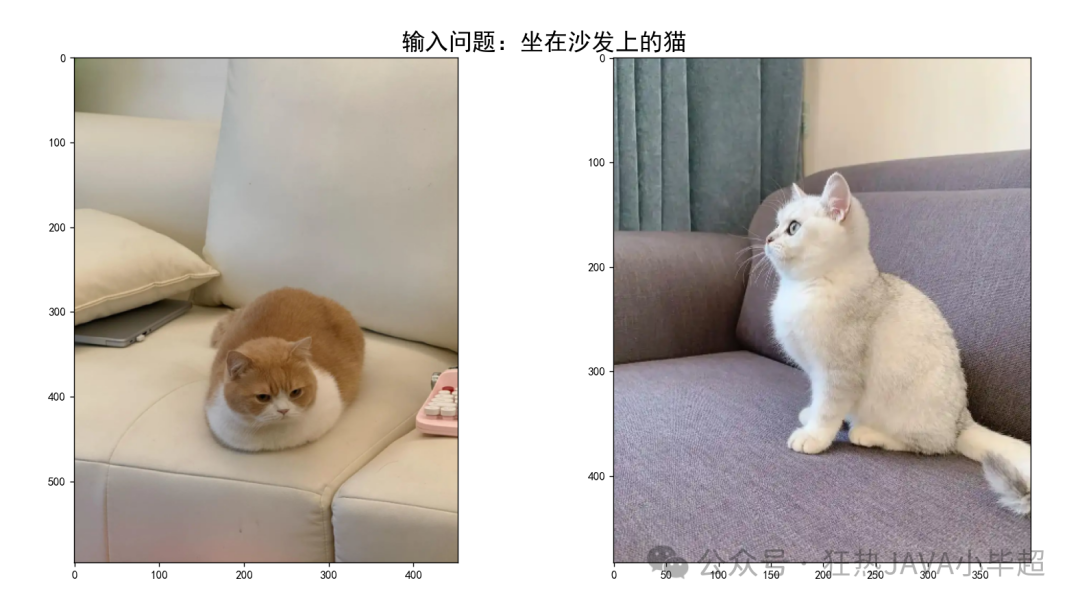
该模型在 ModelScope 上开源。通过本地部署,我们可以实现精准的跨模态检索。例如,输入“坐在沙发上的猫”,系统能准确找到相关的图片,效果如下图所示:
实验所使用的主要依赖版本如下:
transformers>=4.57.0
qwen-vl-utils>=0.0.14
torch==2.8.0
二、Qwen3-VL-Embedding-8B 部署
首先,我们需要下载模型。可以通过 ModelScope 的 CLI 工具进行下载:
modelscope download --model="Qwen/Qwen3-VL-Embedding-8B" --local_dir Qwen3-VL-Embedding-8B
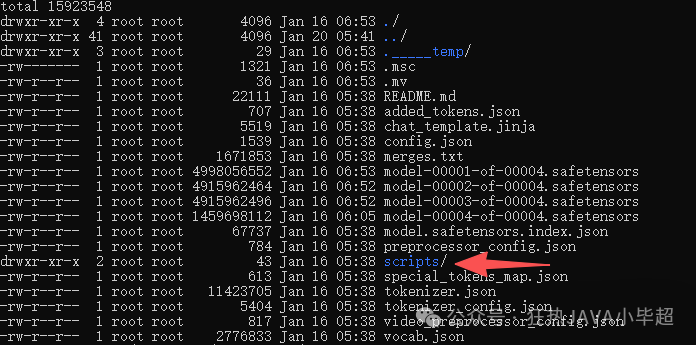
下载完成后,你会得到一个包含模型文件的目录。将目录中的 scripts 文件夹与我们接下来的服务代码放在同一级目录下,结构如下所示:
接下来,我们编写一个 FastAPI 应用来加载模型并提供 Embedding 服务。核心代码如下:
import time
from fastapi import FastAPI, Request
from fastapi.middleware.cors import CORSMiddleware
import uvicorn, json
from scripts.qwen3_vl_embedding import Qwen3VLEmbedder
import torch
import base64
from io import BytesIO
from PIL import Image

app = FastAPI()

app.add_middleware(
    CORSMiddleware,
    allow_origins=["*"],
    allow_credentials=True,
    allow_methods=["*"],
    allow_headers=["*"],
)

## 下载模型位置
model_name_or_path = "/workspace/modelscope/Qwen3-VL-Embedding-8B"
model = Qwen3VLEmbedder(model_name_or_path=model_name_or_path)

def base64_to_image(image_base64: str):
    image_data = base64.b64decode(image_base64)
    image_file = BytesIO(image_data)
    image = Image.open(image_file)
    return image

def get_features(text, image):
    '''特征提取'''
    input = {}
    if text:
        input["text"] = text
    if image:
        input["image"] = image
    return model.process([input])[0].tolist()

@app.post("/v1/embeddings")
async def embeddings(request: Request):
    global model
    json_post_raw = await request.json()
    json_post = json.dumps(json_post_raw)
    messages = json.loads(json_post)
    text = messages.get('text')
    image = messages.get('image')
    if not text and not image:
        return {
            "code": 400,
            "message": "texts 和 images 至少传一个!",
        }
    t = time.time()
    if image:
        image = base64_to_image(image)
    embeds = get_features(text, image)
    use_time = time.time() - t
    if torch.backends.mps.is_available():
        torch.mps.empty_cache()
    return {
        "code": 200,
        "message": "success",
        "data": embeds,
        "use_time": use_time
    }

if __name__ == '__main__':
    uvicorn.run(app, host='0.0.0.0', port=8848, workers=1)
运行上述脚本,服务将在 http://0.0.0.0:8848 启动。

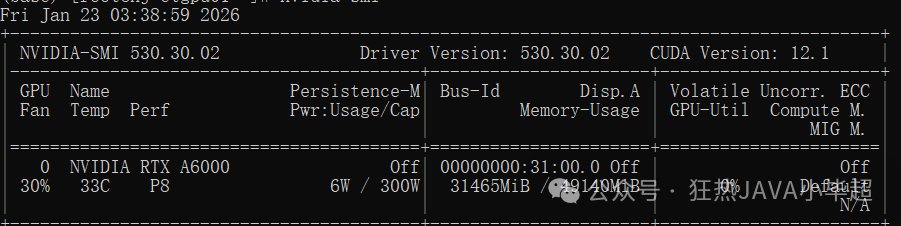
服务启动后,模型会加载到 GPU 显存中。以 NVIDIA RTX A6000 为例,大约占用 31.4G 显存。
三、API 调用示例
服务启动后,我们可以编写一个简单的客户端来调用 Embedding 接口,测试文本和图像的向量化功能。
import base64
import requests
def encode_image(image_path):
with open(image_path, "rb") as image_file:
return base64.b64encode(image_file.read()).decode('utf-8')
def embed(text=None, image=None):
if not text and not image:
raise Exception("embed content is empty!")
if image:
image = encode_image(image)
response = requests.post(
"http://127.0.0.1:8848/v1/embeddings",
json={
"text": text,
"image": image
}
)
return response.json()["data"]
def main():
texts = "你好,小毕超"
images = "images/dog.3999.jpg"
em = embed(text=texts, image=images)
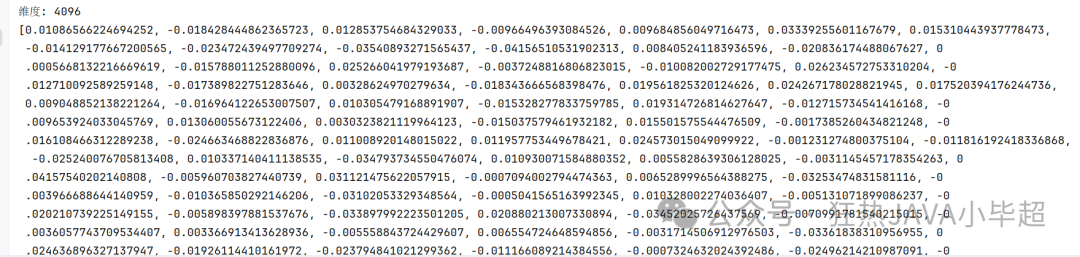
print(f"维度: {len(em)}")
print(em)
if __name__ == '__main__':
main()
调用后,会返回一个 4096 维的向量。这表明 Qwen3-VL-Embedding-8B 模型生成的嵌入向量维度为 4096。
四、实现 文搜图 案例
理解了基础调用后,我们来构建一个完整的“以文搜图”应用。这需要将图片向量化并存储到向量数据库中,然后通过查询文本的向量进行相似度检索。
4.1 实验图片收集
首先,准备一个图片数据集。这里我们从网上下载了一些猫和狗的图片作为示例。
4.2 Embedding 存储至向量库
我们选择使用 Milvus 作为向量数据库。下面的脚本会创建集合(Collection),将所有图片通过 Qwen3-VL-Embedding 模型向量化,并存储到 Milvus 中。
import json
import os
import base64
import requests
from pymilvus import MilvusClient, DataType

client = MilvusClient("http://127.0.0.1:19530")

collection_name = "qwen3_vl_test"

def create_collection():
    client.drop_collection(collection_name=collection_name)
    schema = MilvusClient.create_schema(
        auto_id=False,
        enable_dynamic_field=False,
    )
    schema.add_field(field_name="id", datatype=DataType.VARCHAR, is_primary=True, max_length=255)
    schema.add_field(field_name="vector", datatype=DataType.FLOAT_VECTOR, dim=4096)
    schema.add_field(field_name="content", datatype=DataType.VARCHAR, max_length=5000)
    schema.verify()
    index_params = client.prepare_index_params()
    index_params.add_index(
        field_name="vector",
        index_type="IVF_FLAT",
        metric_type="L2",
        params={"nlist": 1024}
    )
    # 创建 collection
    client.create_collection(
        collection_name=collection_name,
        schema=schema,
        index_params=index_params
    )

def encode_image(image_path):
    with open(image_path, "rb") as image_file:
        return base64.b64encode(image_file.read()).decode('utf-8')

def embed(text=None, image=None):
    if not text and not image:
        raise Exception("embed content is empty!")
    if image:
        image = encode_image(image)
    response = requests.post(
        "http://127.0.0.1:8848/v1/embeddings",
        json={
            "text": text,
            "image": image
        }
    )
    return response.json()["data"]

def to_milvus():
    for index, img in enumerate(os.listdir("images")):
        img_path = os.path.join("images", img)
        em = embed(image=img_path)
        client.upsert(
            collection_name=collection_name,
            data={
                "id": str(index),
                "vector": em,
                "content": img
            }
        )
        print("save ----> ", img_path)

def main():
    ## 创建collection
    create_collection()
    ## 向量持久化
    to_milvus()

if __name__ == '__main__':
    main()
运行脚本,所有图片的向量将被成功存入 Milvus。
4.3 文搜图测试
最后,我们实现检索部分。用户输入一段文本描述,系统将其转换为向量,并在 Milvus 中搜索最相似的图片向量,返回对应的图片。
import base64
import requests
from pymilvus import MilvusClient
import matplotlib.pyplot as plt
from PIL import Image

plt.rcParams['font.sans-serif'] = ['SimHei']
client = MilvusClient("http://127.0.0.1:19530")

collection_name = "qwen3_vl_test"

def encode_image(image_path):
    with open(image_path, "rb") as image_file:
        return base64.b64encode(image_file.read()).decode('utf-8')

def embed(text=None, image=None):
    if not text and not image:
        raise Exception("embed content is empty!")
    if image:
        image = encode_image(image)
    response = requests.post(
        "http://127.0.0.1:8848/v1/embeddings",
        json={
            "text": text,
            "image": image
        }
    )
    return response.json()["data"]

def main():
    while True:
        question = input("请输入:")
        if not question:
            pass
        if question == "q":
            break
        vec = embed(text=question)
        res = client.search(collection_name, data=[vec], limit=2, output_fields=["content"])
        plt.figure()
        plt.axis('off')
        plt.title(f"输入问题:{question}", fontsize=20, fontweight='bold')
        for index, item in enumerate(res[0]):
            img_name = item["entity"]["content"]
            plt.subplot(1, 2, index + 1)
            image = Image.open(f"images/{img_name}")
            plt.imshow(image)
        plt.show()

if __name__ == '__main__':
    main()
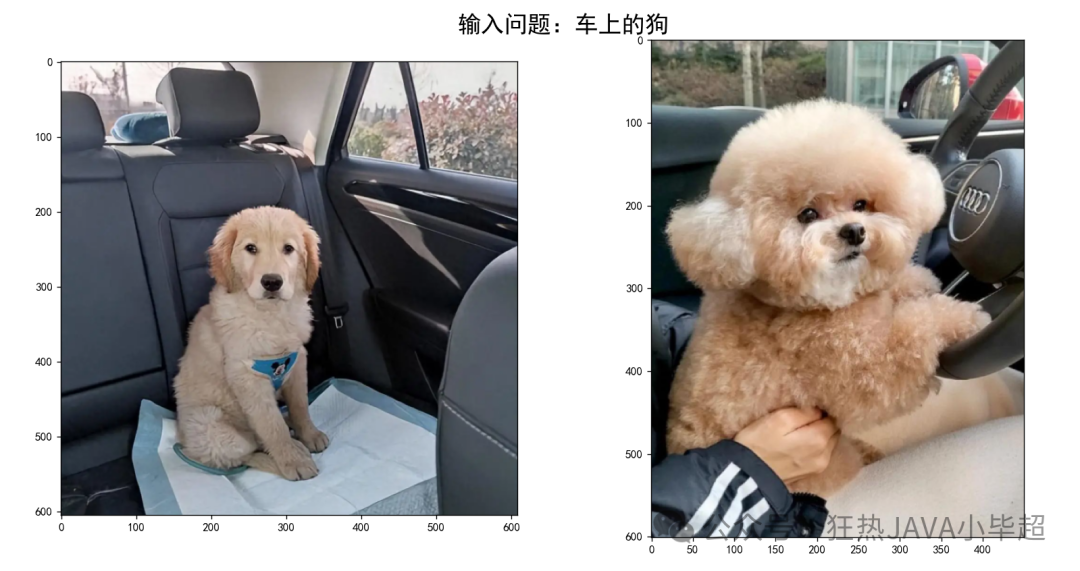
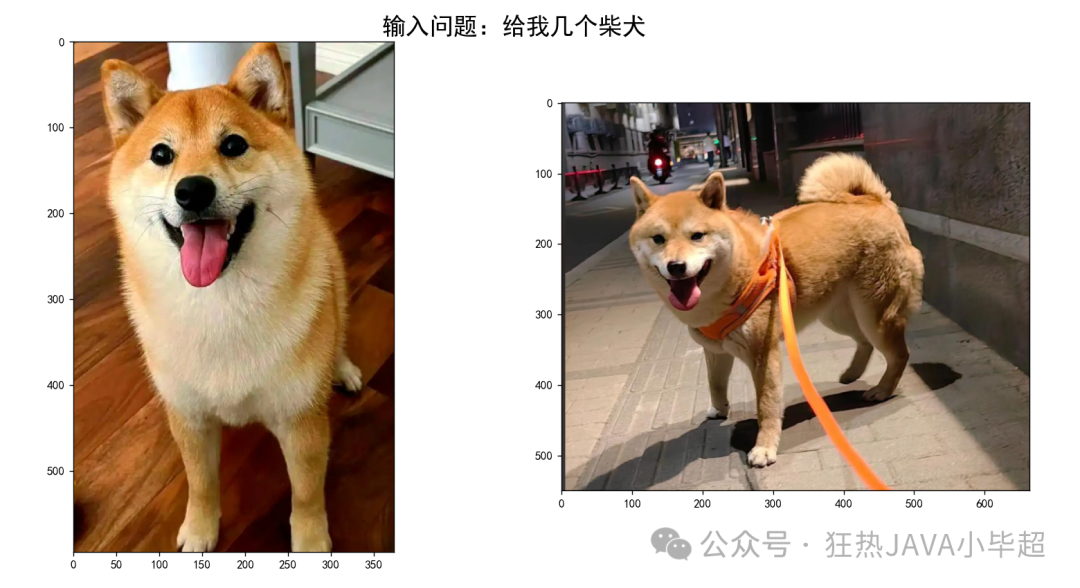
运行上述程序,在控制台输入如“坐在沙发上的猫”、“车上的狗”等描述,系统会弹出窗口展示检索到的最相关的两张图片,效果正如文章开头所展示的那样。这完整演示了如何使用 Qwen3-VL-Embedding-8B 构建一个跨模态的语义检索系统。
希望这篇实战教程能帮助你理解多模态Embedding模型的应用。如果你在部署或实现过程中遇到问题,欢迎在云栈社区的技术论坛板块与大家一起交流探讨。
 发表于 2026-2-26 07:03:41
|
查看: 1008|
回复: 0
发表于 2026-2-26 07:03:41
|
查看: 1008|
回复: 0
